One of the hottest trends coming our way this spring is tie dye! I know, it seems like we hit this trend every couple of years. This year one of the twists on this new trend is DIY bleach tie dye. With everyone stuck at home, DIY is definitely the way to go! You can upcycle an old shirt, hoodie, or even jeans. Learn how to bleach tie dye here!
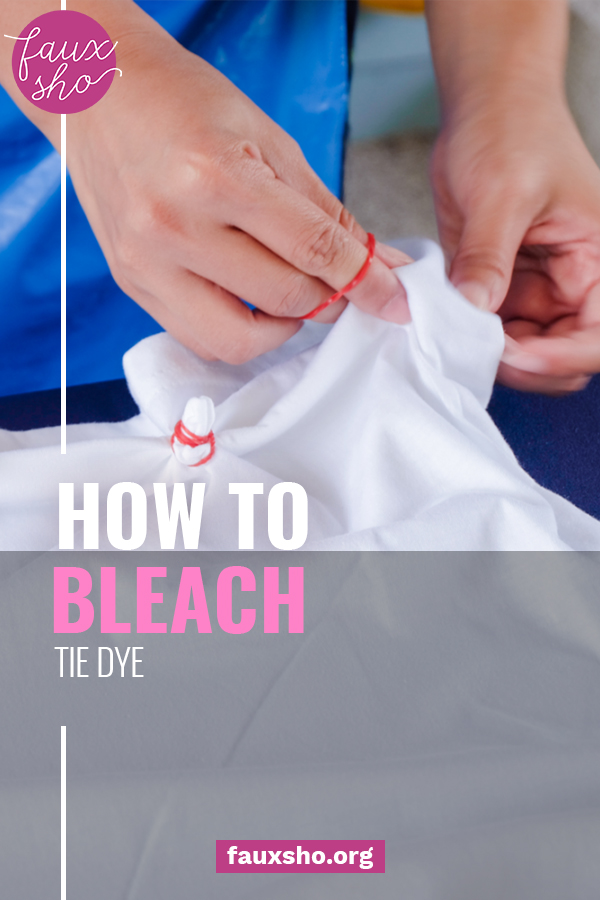
How To Bleach Tie Dye: DIY
If you’re going to DIY your own bleach tie dye design, then there are a few tools you should have on hand. You can definitely use items around your house if you’ve got them, but I’ve also linked places to purchase them online.
- bleach
- spray bottle
- water
- object to be tie dyed: shirt, hoodie, sweatshirt, jeans, etc.
- Optional: tablecloth, gloves, bleach pen, rubber bands
How To Bleach Tie Dye: T-Shirt

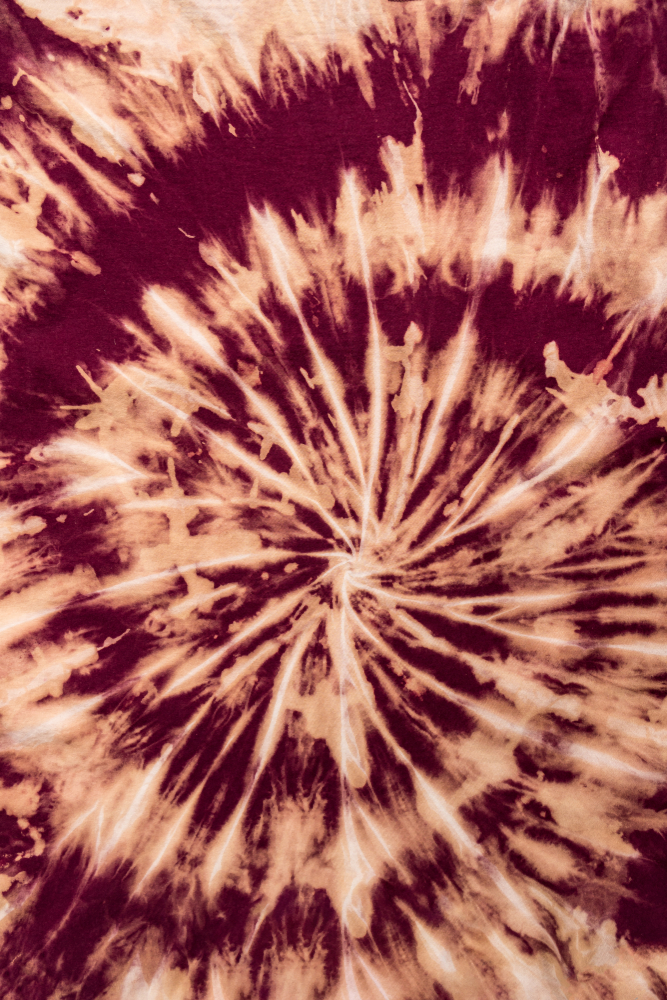
If you’ve decided to bleach tie dye (also called reverse tie dye) a t-shirt, then pay attention. Grab a colored shirt and decide which method you want to use to create your design. I suggest using the spiral design because it’s easy and works well with a t-shirt. Keep in mind that this project works best outdoors. I’d also suggest using rubber bands sparingly as the bleach will not seep paste the bands. So grab an old shirt you’d like to recycle or purchase a new one here.
Start by mixing 3/4 cup water with 1/4 cup bleach in your spray bottle. Make sure the spray bottle is set to “spray” and not “stream.” You want the bleach to be able to sit on the fabric and reduce splash. Next, choose where you want the center of the spiral to be. This doesn’t have to be in the center of the shirt! The top or bottom corner looks fabulous.
Then grab the shirt where you want the spiral to start and begin twirling the shirt, making sure to keep the shirt nicely folded. Continue swirling until the whole shirt looks like a cinnamon roll. If you want to create the swirl on the front and back, secure with a rubber band or two.
Next, begin spraying the t-shirt (front and back) and allow the bleach to sit for 10-30 minutes. You should see the shirt begin lightening up as you watch. When you’ve achieved the color you’re looking for, rinse the shirt in cold water and toss in the washing machine. Make sure not to let the bleach sit for longer than about 45 minutes otherwise the bleach will begin eating through the fabric. Enjoy!
How To Bleach Tie Dye: Hoodie
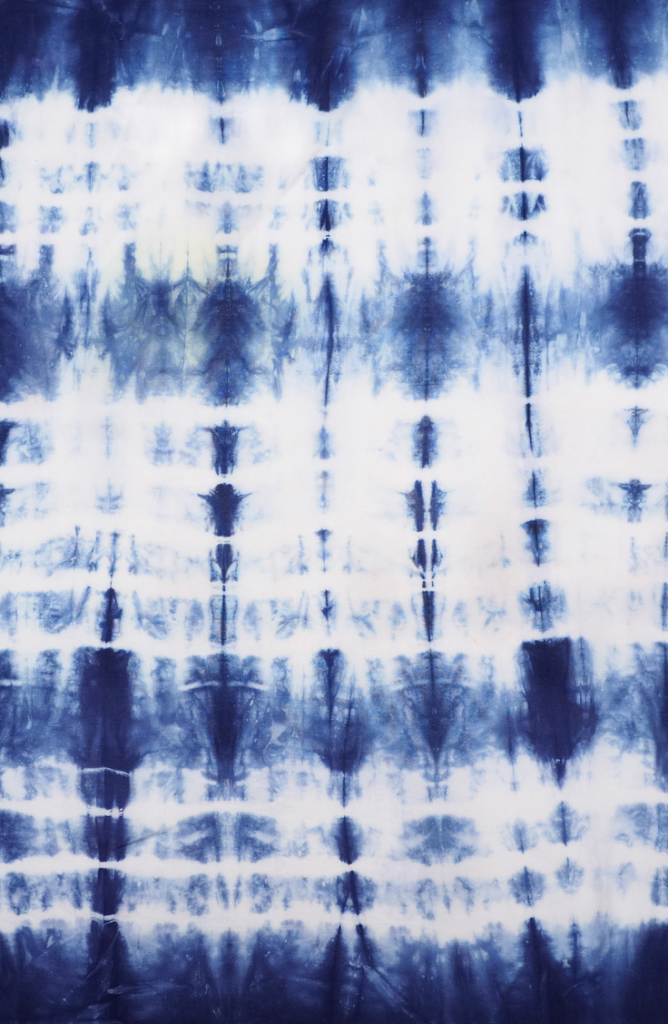
When it comes to hoodies, you can totally do a spiral, but I find the fabric a little too dense to make it look great. Instead, try the pleat method! You need the same tools for hoodies as you do for shirts, plus some extra rubber bands. Then grab a hoodie you’d like to give a twist or purchase one here.
Begin by deciding which direction you want the pleats to run: vertical or horizontal. Then start folding the hoodie in an accordion fold until you’ve folded the whole hoodie. Then use rubber bands to secure the accordion fold periodically from top to bottom. The more rubber bands, the more “stripes” you will have on your hoodie.
Last, give the hoodie a good spray with the same mixture of bleach and water. Allow it to sit for 20-45 minutes until you’ve achieved the lift you’re looking for. Then rinse with cold water and toss into the washing machine and you’re done!
How To Bleach Tie Dye: A Sweatshirt
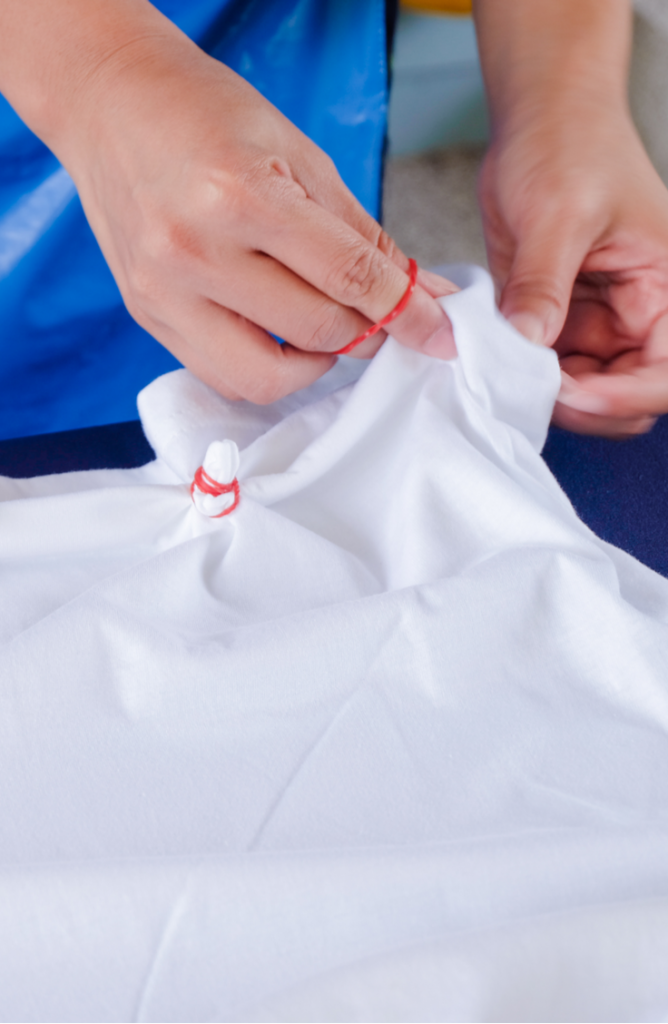
I know, you’re sitting there thinking that a sweatshirt and a hoodie are the same thing. And yes, they are very similar. But one has a hood, and the other doesn’t. When it comes to reverse tie dye for a sweatshirt, I’d suggest another pattern besides the accordion fold. This is called the “bullseye” pattern because you’re essentially creating a multitude of concentric circles all over your sweatshirt.
Using the same tools as you did for the hoodie, begin by deciding how many bullseye circles you’d like and how large. They don’t all have to have the same number of circles. Start by pinching a portion of the fabric together and securing it with a rubber band. Then pull a little more fabric and add another rubber band. The bands act as the circles of the bullseye, so the more rubber bands, the larger the bullseye. I’d suggest doing the front and back separately so that you have more control of the bleach.
Once you have the circles ready, give the sweatshirt a good spray with the bleach mixture. Allow the bleach to work its magic for 20-45 minutes before washing the hoodie in cold water and tossing in the washing machine. Then enjoy your totally awesome sweatshirt!
How To Bleach Tie Dye: Jeans
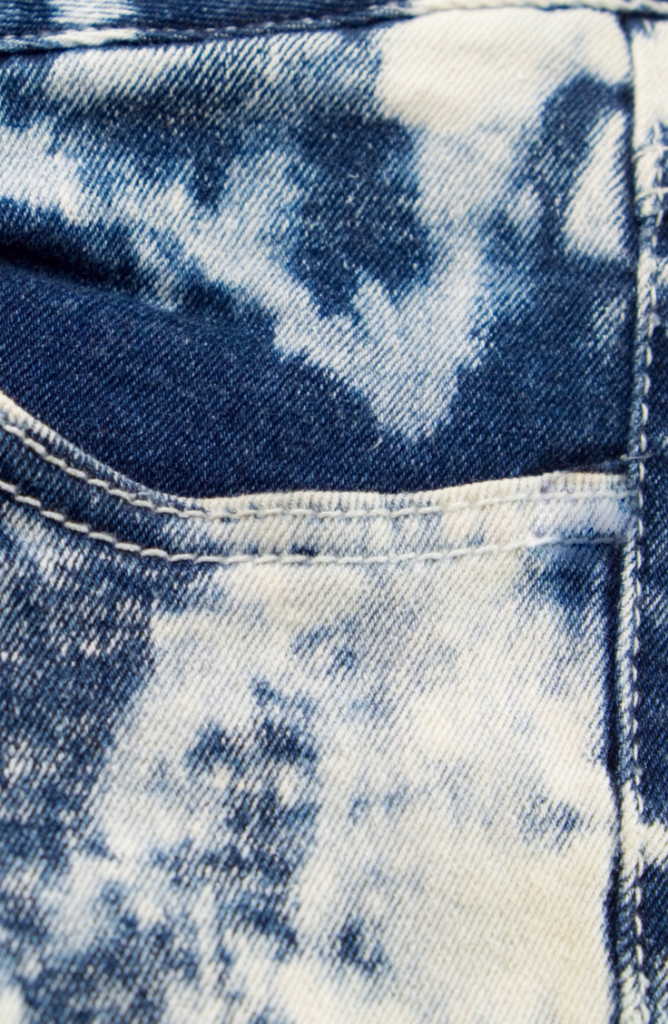
Once you’ve got the hang of bleach tie dye, there are so many options for the rest of your clothes! You can use any tie dye pattern for jeans, but why not do something really unique? Rather than using the accordion fold or the bullseye, try grabbing a bleach pen like this and letting your inner artist out. You can use stencils if you’d like, or freehand design! Allow the bleach to sit on the denim for 20-45 minutes before rinsing in cold water and then giving them a good wash in your washing machine.
The next time you’re ready for a fun and easy DIY project, try reverse tie dye or bleach tie dye! The project is quick and versatile. Which tie dye pattern is your favorite? Let me know in the comments below!


Leave a Reply