Faux brick walls are hard to manage, especially if you plan to incorporate them into your bathroom. How will it look against the sink, faucet, and vanity? Will it match the modern interior of our home? Are we going to be able to pull it off? These are some concerns of those who plan to make a faux brick wall. In this article, “Faux brick wall – making it has never been easier and cheaper,” we will discuss everything about incorporating a faux brick wall into your bathroom without taking a heavy toll on your pocket.
You might think creating a faux brick wall can be a daunting task; however, it is one of the easiest DIY projects out there. A couple of supplies, some tools, and you are good to go.
Supplies
The following are some supplies you are going to need in this project:
- 1” Panelboard nails
- Brick wall panels
- Putty Knife
- White Spackling
- Polycrylic Protective Finish
Tools
The following are some tools you are going to require in this project:
- Hammer
- Utility knife
- Circular Saw
- Stud finder
- Foam brush (optional)
- Hole Saw (optional)
Procedure – How to Build a Faux Brick Wall
Step No. 1 – Manage the Panelboard
The length of the panel board depends on the width and height of the bathroom. Before stepping out to buy the supplies, measure the height and width of the ceiling, then plan accordingly.
Panelboards are available in different lengths and widths. There are times when one panelboard is not enough to accommodate the entire space of the bathroom.
In this case, take the required portion from another panel board and join it with the one you originally planned on working with.
Start hanging your panel board from one end of the wall and work your way through. Make sure to align it between both ends properly. If there is a pipe, an electric board, or a button on the wall, cut the panelboard in a way that it doesn’t fall on that.
Take proper measurements so that the wall is even. Use a utility knife to cut box holes and a circular saw for circular cuts.
If you want to hang the wall panel permanently, you can use wall panel adhesive. It sticks the panel to the wall, making it hard for you to take it off. On the other hand, if you want something that doesn’t require much effort, not now, not ever, you can use wall panel nails.
They are easier to drill and easier to remove. You can take the panel off whenever you want. Finally, you can hang it anywhere you like without worrying about unhooking them.
Something to Remember
Always mark your studs so that you never lose them! However, if you end up losing the studs, even after marking them, you can use a stud detector to find them.
Some walls are trickier to work through. If yours is one of them, don’t panic. Remember to cover the entire surface with wall panels. Keep a utility knife with you at all times in case you need to cut an extra inch somewhere towards the end.
Step No. 2 – Creating the Look
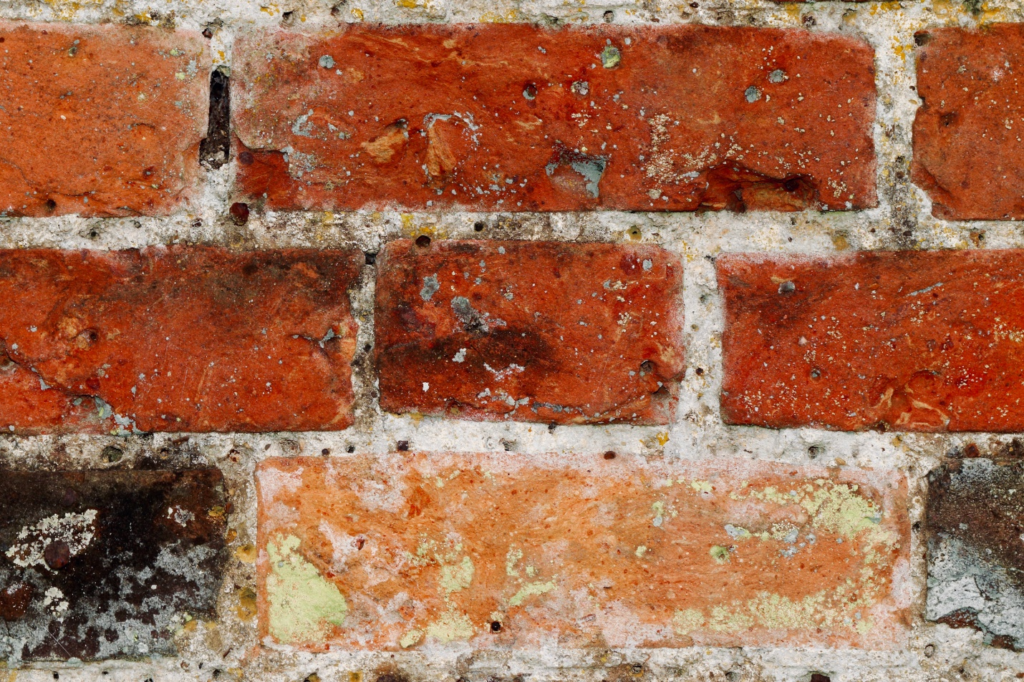
Now that we have prepared the wall with wall panels, it is time to create the look. You can choose any look that fits the interior of your home, or you can go crazy with your ideas.
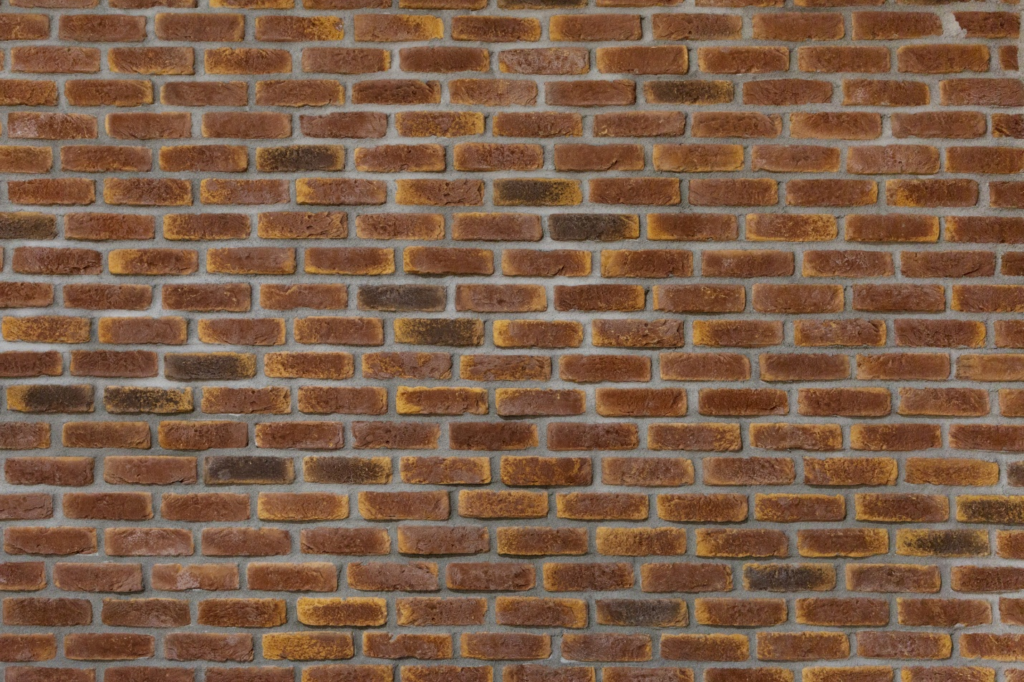
Make your bathroom stand out by incorporating a quirky look that demonstrates faux brick wall the best. You can either choose lots of white and a little red or paint the wall red with a little white showing.
It is an easy process if you have the right spackle for it. It can even be fun, given that you are the master of your own universe. Fill the seams with the spackle using a paintbrush and a putty knife with you at all times!
Once you are finished and step back to take a look, consider adding the spackle where the brick is showing. That should do the trick! If there is too much white, use a putty knife to wipe it clean.
Step No. 3- Seal the Deal
Sealing the faux brick wall is an optional step. If you have created this wall inside the bathroom, you might want to seal it because it is exposed to the water all day long. Some people create this wall inside their kitchens as well.
That portion of your house is also exposed to pipes and continuous water flow. Therefore, sealing the wall can be a wise move. However, you don’t want to ruin the time and effort you put in, do you?
Sealing the wall gives it a protective finish. Make sure you get the appropriate polycrylic, matte sealer to avoid yellow patches after application. Matte sealers give an authentic look to the wall without making it too shiny.
Ensure that every portion of the wall is properly covered. Finally, you can put two or three coats as well to cover all the bases. Your faux brick wall is ready!
Final Word
Bringing about a new change in the interior of your house is a big move – something you need to put a lot of thought into. Before making a drastic change to your home, do your research. Try to do it on your own; it is cheaper (and so much fun!). See if it compliments your house setting.
Even before that, check if your budget allows it. Once you check all these factors off your list, go ahead.
Creating a faux brick wall is not as difficult as you might think. You can complete the process within a day, and it doesn’t cost you much. Chic and affordable – how does that sound? And don’t forget to accessorize your wall with these.
Leave a Reply