You must have heard about bypass barn doors. After all, they’re all the rage these days. If you step outside to buy these doors, they might take a huge toll on your pocket. The wise choice is to make them all by yourself. Yes, you read that right! You can build a bypass barn door on your own. However, it might be a long process, so hold on to your straps and buckle up; you will learn about DIY bypass barn door hardware in this article.

Bypass barn doors are an extended, upgraded version of a regular door. You can install them in your basement or create a spacious wardrobe about it. You can make double doors or build a single one, whatever you need. Installing these doors or keeping them functional is totally up to you. You can move them if you want or fasten them in one place without making any amendments.
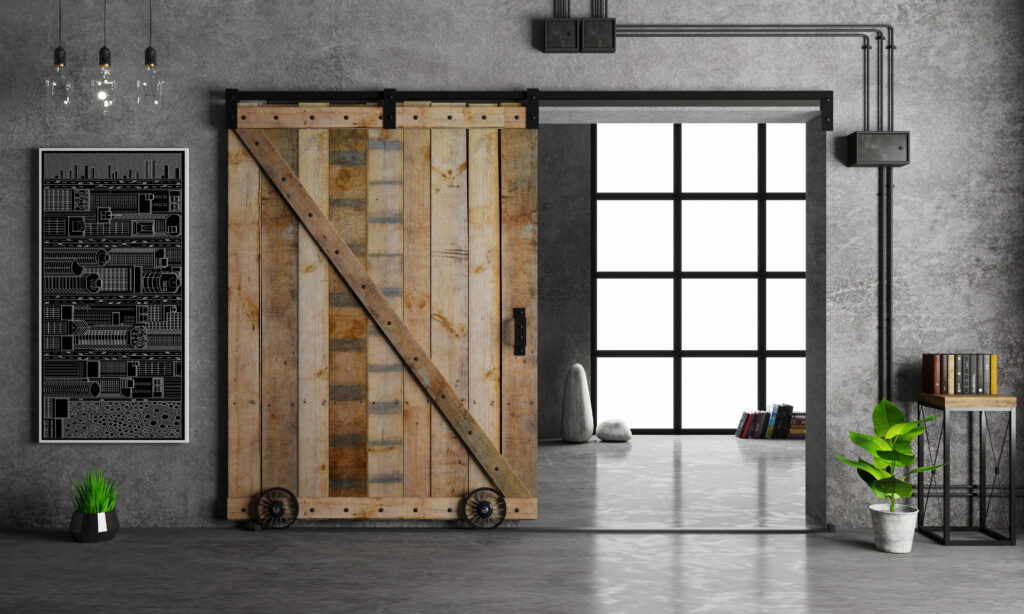
DIY Bypass Barn Door Hardware
DIY bypass barn door hardware is an amalgamation of two steps – hardware and door. The process revolves around these two factors. Let’s dive into it.
Step No. 1 – Select a Design for Bypass Barn Doors
Before we delve into the process of physical struggles, plan every step. In this DIY Bypass barn door hardware project, the first step is to select a design. Do your research; explore different options, and choose what best suits your needs.
There are numerous designs for a barn door. Decide if you are building a door for the interior of your house, or you will install it on your main entrance. Consider the décor of your space, see what works best, what compliments your taste, and choose accordingly.
There are many choices – plank barn doors, one-panel barn doors, double X barn doors, two-panel barn doors, Z barn doors, double Z two-panel barn doors, mid-rail plank barn door, and many more.
You can go with a chevron pattern as well. You might think it is asymmetrical; however, once you place different doors side-by-side, they will create an elegant chevron pattern.
The important to consider here is what you want, and it fits your home décor. If you research your way in, it will be beneficial for you in further steps. Otherwise, you will remain indecisive and mess up the entire project.
Once you decide the design of your bypass barn door, the next thing you need to decide is which system is best suited for your chosen design. Building a bypass barn door and hardware system go hand in hand in this DIY bypass barn hardware project.
Therefore, you should choose a hardware system to proceed.
If you are going with the chevron pattern, you should opt for a single-track double bypass hardware system. You can make fully functional doors, a sling door, or a static one – the choice is yours!
Let’s suppose you are opting to build four doors. Two of them will be front doors; the other two will be back doors. Make sure the width, height, and angles of all the doors are the same. The front doors will be the exact opposite of each other.
Let’s say they are called door 1 and door 4, since they will be placed in front. Door 2 and 3 will be the back doors. Door 2 coincides with door 4, with a slight addition of width to the left to go behind door 1. The same goes with doors 1 and 3. They will coincide with each other, only with a small addition to the width of door 3 to the right to go behind door 4.
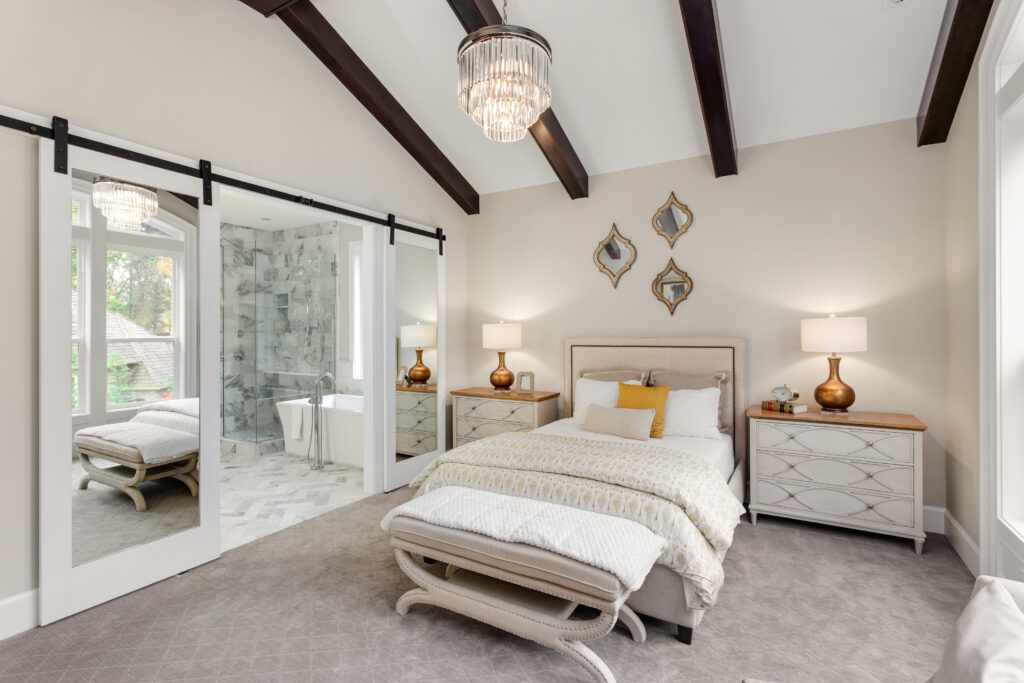
Step No. 2 – Choose Bypass Barn Door Hardware
As mentioned in the previous step of the DIY Bypass barn door hardware project, building doors and hardware systems are two sides of the same coin. Therefore, it is imperative to choose the correct barn door hardware system.
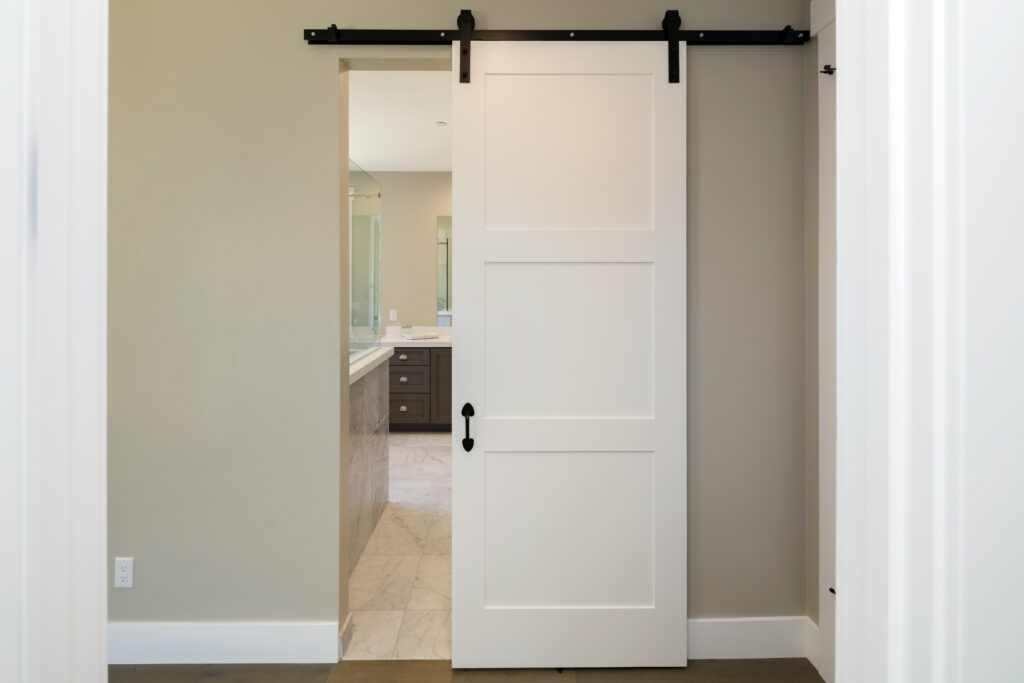
If you are going for a single barn door, a single track along with the necessary hardware should work. Heavy-duty barn door hardware is easily available and does the job well. Make sure it is sturdy as well stylish so that it looks great after installation.
Suppose you are going for side-by-side two barn doors, double sliding barn wood door hardware. It has all the necessary hardware required to install the two barn doors. Be mindful that this hardware works only for side-by-side doors but not sliding doors.
Sliding doors require a bit more precision and a refined set of hardware. If you choose to install sliding doors in your basement, you have a choice to pick any of the following two options:
If you are a beginner and trying out your luck for the first time in a DIY project, you should opt to work with a single rail bypass system. This system enables the doors to hang off one track. Two of the four doors hang in front using that single track, leaving the other two to stay behind the front doors.
The only difference between front and back doors is the shape of their respective hangers. Front doors are hanged on angled hangers that lift and move them behind. On the other hand, the back doors are hanged on a straight hanger. This setting enables the back doors to slide without any hindrance.
Select which door you want in front and which door should stay at the back door. Choose a configuration that works best for your home. Be evocative of the doors you want to use the most, considering the usage of the space they are placed in.
Create symmetry that aligns the doors together without stumbling into each other while sliding.
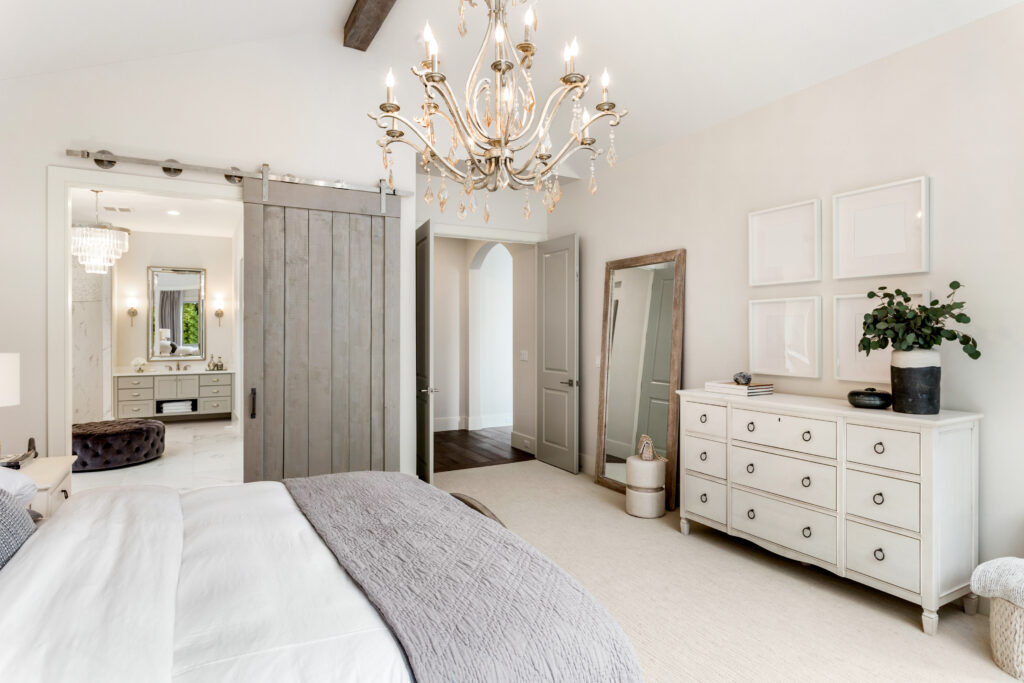
Raw Materials Required for DIY Bypass Barn Door Hardware
Raw materials vary from door to door. Whether you choose a single rail, double rail, a single track, or a double side-by-side two barn door, the material you require might slightly differ.
In this DIY bypass barn door hardware project, we are discussing the sliding doors; hence, we need the following raw materials:
For Front Door (Doors 1 and 4)
- The front doors require a 1 x 3/4″x4’x8′ sanded plywood backer board that should be cut down to the exact size. Get this plywood board for both front doors.
- These doors require a 3 x 1″x5″x8′ MDF trim around the perimeter of each door.
- The front doors require a 3 x 1″x2″x8′ MDF trim for the slanted battens of each door.
For Back Door (Doors 2 and 3)
- The back doors require 1 x 3/4″x4’x8′ sanded plywood backer board that should be cut down to the exact size of each door.
- These doors require 3 x 1″x5″x8′ MDF trim around the perimeter of each door.
- They require 3 x 1″x2″x8′ MDF trim for the slanted battens of each door.
- The back doors require 1 x 1″x6″x8′ MDF trim to cover the extra width of each door.
Tools Required for DIY Bypass Barn Door Hardware
The following are some tools that might come in handy for the DIY Bypass barn door hardware project:
- Electric drill
- Miter saw
- Measuring tape
- Level
- Nail gun along with the nails
- Putty Knife
- Carpenter’s square
Other Materials Required for DIY Bypass Barn Door Hardware
Here are some other materials you will need to start the DIY bypass barn door hardware project:
- Sandpaper
- Wood filler
- Paint
- Construction Adhesive
Accessories Required for DIY Bypass Barn Door Hardware
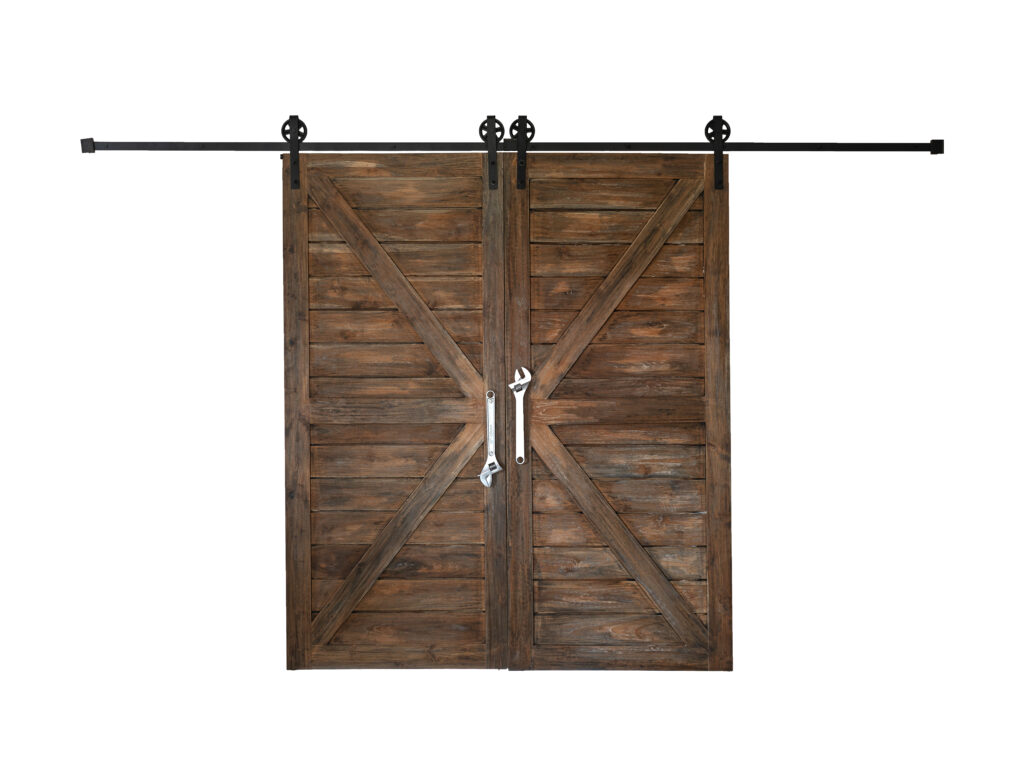
Door pulls are very important in DIY bypass barn door hardware project. They are available in various kinds – a flush mount option, a surface mounted option, and a door pull with handles on it.
Hardware Kits Required for DIY Bypass Barn Door
The following are the hardware kits as discussed above:
- Single door
- Single rail bypass
- Double rail bypass
- Double doors on single rail without a bypass
Instructions for DIY Bypass Barn Door Hardware
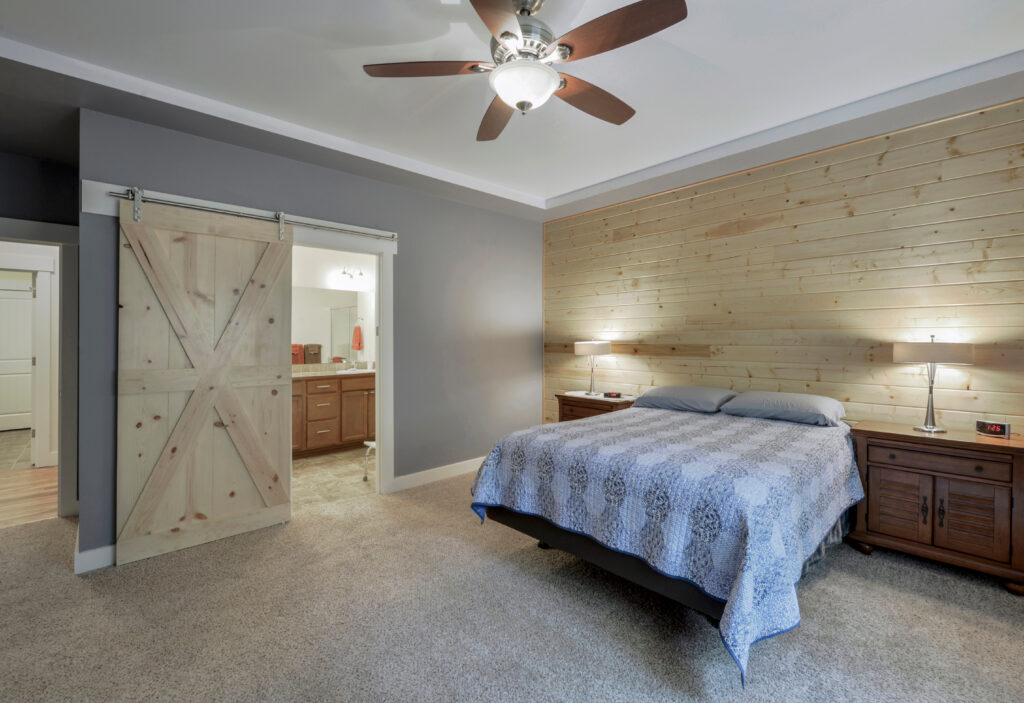
Now that you have all the equipment and measurements you need to start the DIY bypass barn door hardware project, let us look at the instructions. Note that even though materials vary, you can utilize these instructions to build any barn door design.
- Take measurements of your doors. Once you have the exact number, cut the plywood backer board to reduce it to the size you want.
- Since you are a beginner, you might notice some uneven surfaces, some imperfections in the piece. There is no need to worry. You can utilize wood filler to fill the gaps.
- Once you apply the wood filler, let it sit for a while to dry out.
- Once dried, apply a coat of sander and paint on both the front and back of the door. Let the paint dry. After a while, sand the door again and apply a second coat of pain. You can take any paint of your choice. Ensure that the paint has gripped the surface. Take a look at the end results. If you feel that the door doesn’t look authentic enough, apply another coat of paint after sanding the plywood’s surface. The third coat should complete the look.
- The vertical side of the perimeter trim is the same as the height of the door. On the other hand, the short header mirrors the width of the door. Make sure to reduce the perimeter trim to size by cutting it with a putty knife.
- Take the measurements again and then cut the battens to size. You can test them by cutting the first piece and keeping it in level with the door. This, you will have the exact length using batten. Mark it and use the same length for your other doors as well.
- Take the backer board and put all the trims and batten onto it to make sure you got the right measurement. Try to piece them together. See if they fit. If everything is as you intended it, go ahead.
- Now is the time to paint it all. Take trims and battens and splash them with a color of your choice. You can spray them, too; however, spray paints can be messy and harder to clean. Therefore, use a paintbrush or roller for a cleaner finish.
- Now that you have measured, cut, and painted everything, it is time to attach the trim and battens to the door using nails and adhesive. Start with the perimeter trim. Attach the longer side first, and then move onto the shorter pieces.
- Likewise, use adhesive and nails to attach the battens as well.
- Once you have concluded the process, you might find seams in between the gaps. Fill the nail holes and other seams with wood filler to eradicate the visual gaps and joints. Make sure to cover the area with trim and plywood meets.
- Let the wood filler dry, then paint the uneven tones with a smaller roller to smoothen the door’s surface.
- Decide where you want to attach the door pulls and do so. You can also hang them later if you haven’t decided on the spot yet.
- The hardware system you chose comes with a guideline. Follow that guideline precisely to attach the hangers to the doors. Ideally, it takes drilling and bolting the hangers to the door to complete the process.
- Finally, conclude the process by hanging the door. If you are going for a sliding door, hang the back door first, then move onto the front. Once the doors are hanging at the perfect spot you initially wanted, install door stops by following the hardware kit.
Things to Remember
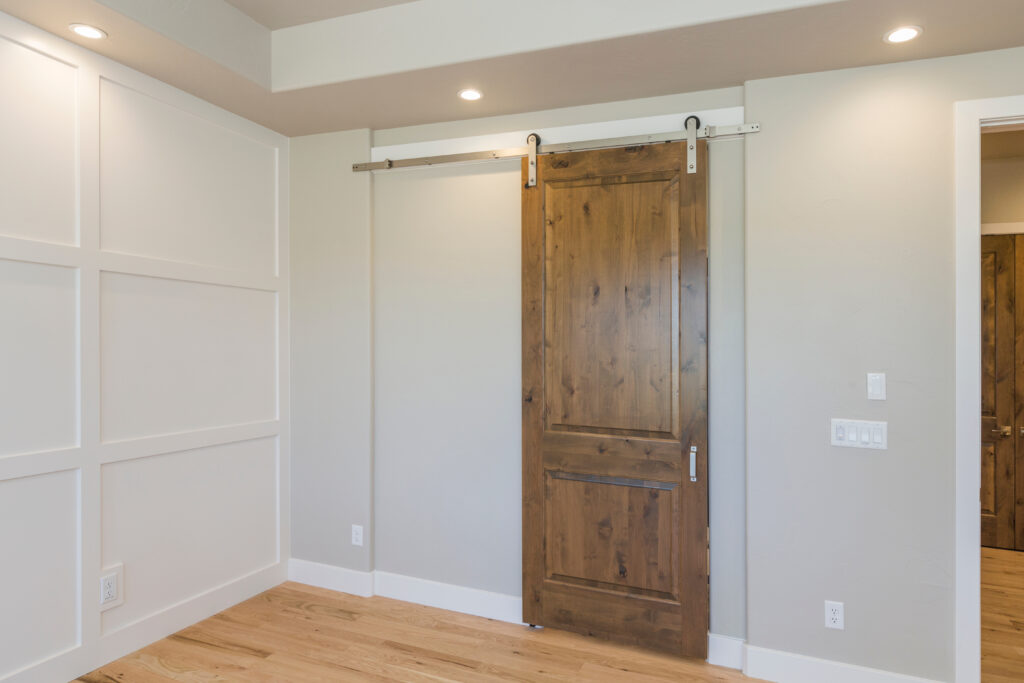
In the DIY bypass barn door hardware project, you can paint all the trims, battens, and other individual items before assembling the doors. Painting beforehand can save you from the mess. It can also conclude the process smoothly without any additional strain.
If you are building a regular door, the process is relatively easy. However, bypass doors need tending to. If you are building them on a single rail, you need to put extra width to the behind doors. This is because front doors might overshadow the design of the back doors.
Consider the full square-foot o the room you are building the doors for and divide it with the number of doors you planned to build. Adding an inch of overlap and building other doors on a single rail will coincide with each other.
This way, your visual picture is safe as the front and back doors aren’t getting into each other’s way.
Moreover, the width of the door is no longer aligned with its track. Building a bigger door might solve the problem; however, the visual design will be equally messed up.
Therefore, you should use double rail bypass hardware. The visual designs and the area covered will not be the problem anymore.
In DIY Bypass Barn Door hardware, if you are using a chevron pattern, make sure that the design of all the doors is visible. Otherwise, it might mess up the pattern and look odd in your room/basement. If the doors aren’t aligned properly, not only do the designs mess up, but the battens as well.
They will be uneven and won’t align with each other.
You can solve this problem by modifying the back door. Measure the difference in width of each door and add accordingly. The length of every door is different. To avoid this struggle altogether, make sure to consider the visual difference before building the door.
Choose those patterns that are convenient for you to make since you are just starting as a beginner. Take precise measurements, consider every aspect, and then act accordingly.
Final Word
DIY bypass barn door hardware project needs precision. You need to consider all the aspects, do your research, see a couple of tutorials, read about the mistake of fellow door makers, and then get into it.
Once you have carefully read the guidelines, dive into the process of DIY bypass barn door hardware by selecting a design that you can conveniently work on, according to the guidelines. Make sure you know all the do’s and don’ts to have lesser chances of a foul.
It might be a bit tricky at first; you might even mess up the process the first time you attempt to build a door. However, with the right strategy, keen observation, and hard work, you can make the DIY bypass barn door hardware project successful.
Don’t get discouraged if you can’t get it right on the first try. Don’t think that you need to throw out the ruined door. Instead, make use out of it by finding a spot. You can use that door in your attic or anywhere in your home that has less traffic.
This way, your hard work won’t go to waste. Finally, you will have a new door as well.


Leave a Reply