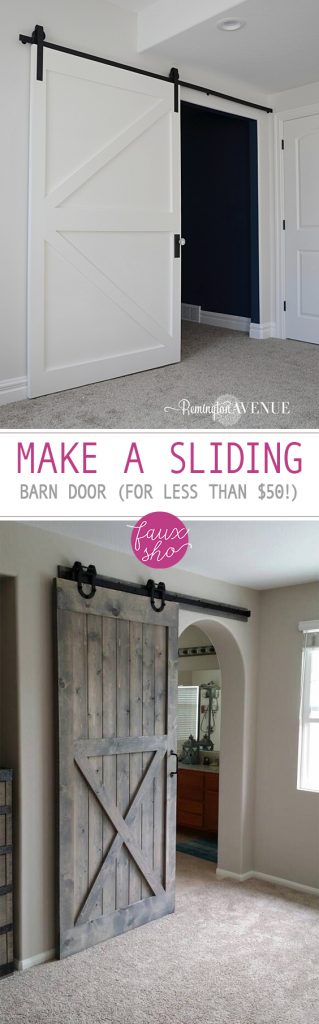
One of my favorite features in our home is our sliding barn door. It was one of the features of our house that I absolutely insisted we install and I couldn’t be happier that I did. Before we installed our own, I thought that with all the unique hardware, that surely sliding doors would be expensive. But that just goes to show how little I know about home improvement jobs! Not only was the project surprisingly easy, but it was also very much within our price range. So for all they offer, from welcome warmth and coziness to added dimension, there really isn’t a good reason to put this awesome DIY project off! Here’s how to make a sliding door for less than $50!
Cut & Smooth
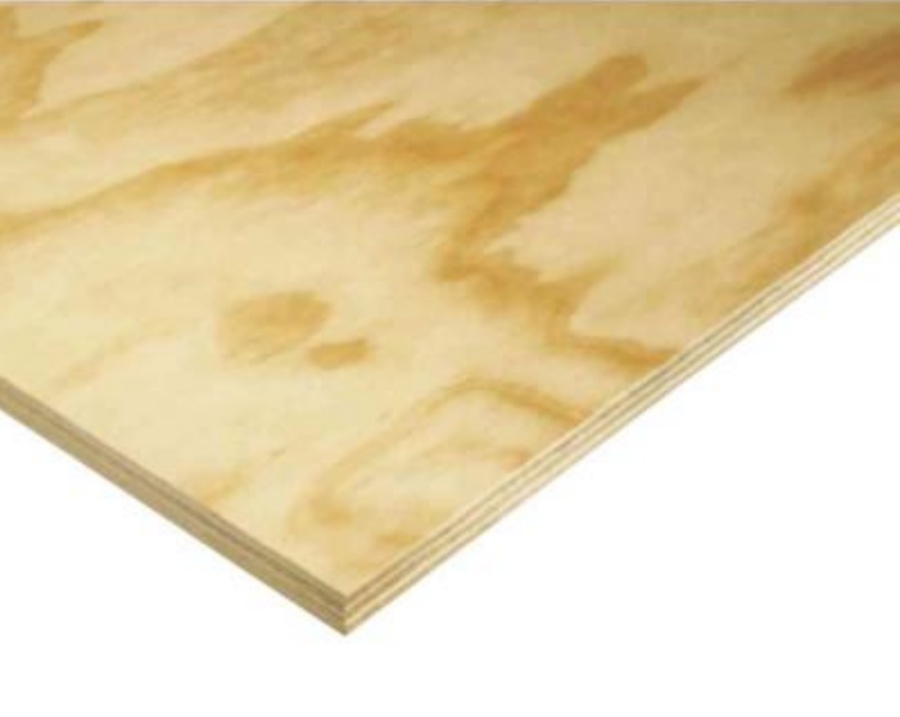
Start by buying a 4 X 8 sheet of pine plywood from a local hardware or wood supply store. Being sure to take your door measurements with you, ask the employees at the hardware store to cut the plywood to the necessary size for your doorway. You’ll want to leave about 3 inches of overlap at the top of the door and 3 inches of overlap on EACH side.
Once your plywood is cut for your doorway, sand both sides using an orbital sander to get the wood nice and smooth.
Frame Of Mind
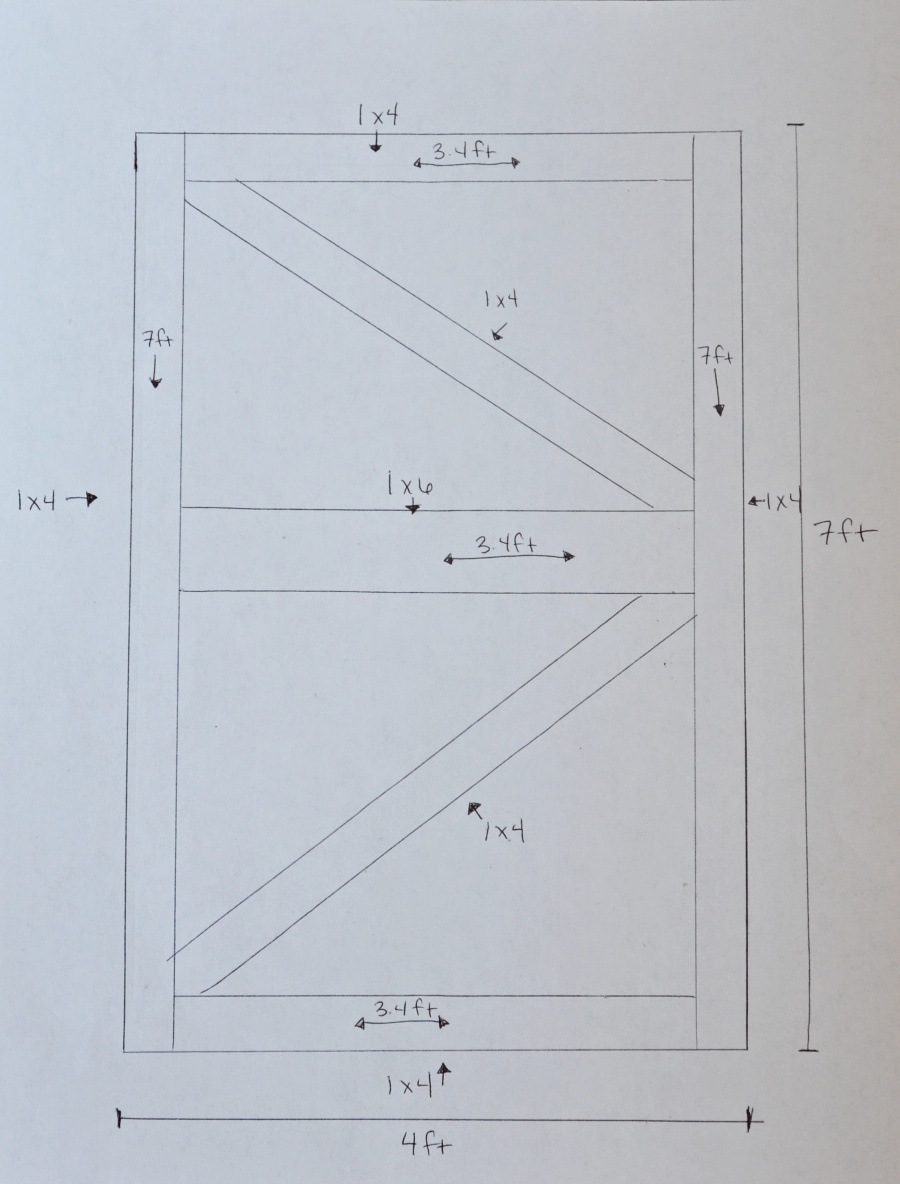
Since .a flat piece of plywood would make for a pretty boring sliding door, you’re going to want to purchase some 1 X 4s and a 1 X 6 to create a barn house effect on your door. The 1 X 4s will be used on the diagonals and to frame out the outside of the door. The 1 X 6 will serve as the horizontal middle of the door. Be especially sure when selecting the 1 X 4’s and 1 X 6 to check for any warping and for straightness. See the image below for a visual of the supplies you’ll need.
Go Ape
Once your boards are cut and ready, go apes attaching them to the plywood with Gorilla Glue.
Nailed It!
With glue applied, you’ll want to also nail the boards to the plywood to ensure durability on your door. Clamps will help you keep boards straight as you secure them in place.
Get Slanted
After your door is framed out, you’re ready to apply the diagonals. Place a 1 X 4 board from corner to corner between the top of the outside frame down to where the center board meets the frame in the middle. Make sure the 1 X 4 is centered and then use a pen or marker to show where the corners need to be removed. Use a saw to cut the corners off and attach the board to the door using more Gorilla Glue and nails. 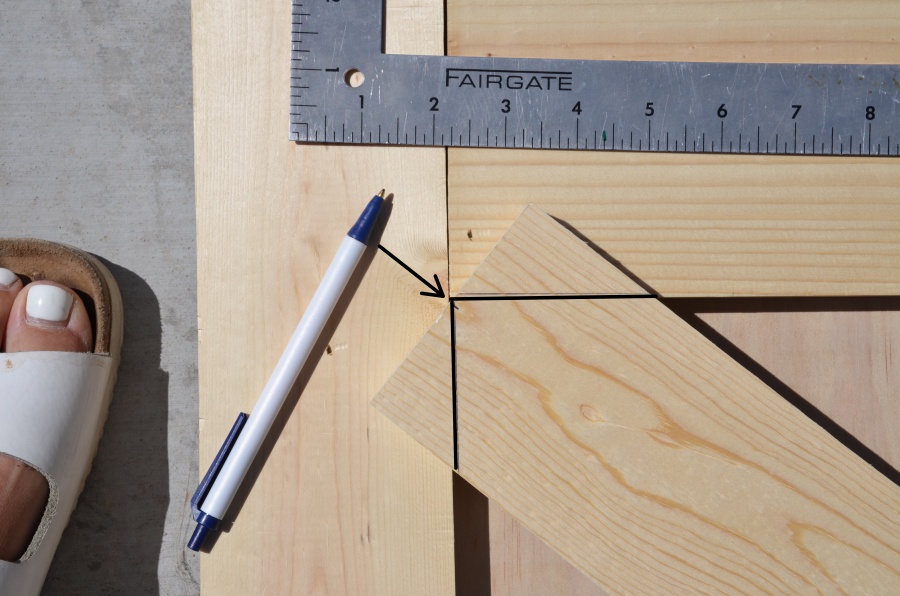
Repeat
Repeat the same process to make another diagonal for the bottom of the door as well. This time however, run the 1 X 4 from the opposite corners so the diagonals aren’t going in the same direction.
Silly Putty
With your barn door all framed out, go back over seams with wood putty to fill any holes and imperfections.
Sandman
Get your trusty sander back out and smooth over all the seams and edges of the frame. Now step back and give yourself a pat on the back. You built your sliding door! Just a few more steps.
Prime & Caulk
With the door now built, you’re ready to paint. Start by applying two coats of primer. Once the primer’s dry, apply caulking on the seams to get rid of any gaps.
Smooth & Paint
Once the primer and caulking are dry, give your door one more smooth over with fine grit sandpaper. Finish off all that hard work with two coats of paint.
Installation
To install your door, you’ll need a kit such as this rolling door kit from The Barn Door Hardware Store. The kits all come with very easy-to-follow installation instructions. Again, this process is much easier than you might expect! Also, if you’d like to give the metal a different finish, choose from a variety of enamel spray coatings from Rust-Oleum. Matte Black is shown in the photo.
Knob
As a final detail, choose a favorite handle or knob to give the door one last touch of personality. My favorite knobs and hardware are from Amazon
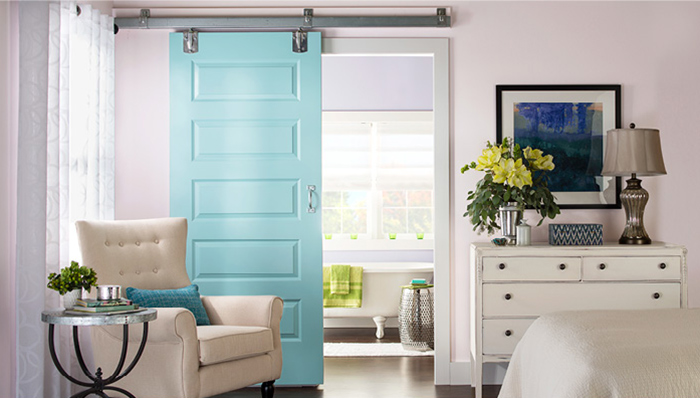
Ta Da!
And you’re done! It took some time and work, but it wasn’t too hard and you kept the cost below $50! This is DIY at its best. Now go enjoy your awesome new sliding door!
For more details on this DIY project, slide on over to Remington Avenue.


Leave a Reply