• DIY
  • Home Hacks
  • Home Decor
  • Cleaning and Organization
  • Life
  • Holiday
    • Christmas
  • Gifts
  • Newsletter

Faux Sho

Faux Sho Is a lifestyle blog. Get free DIY Home Decor, Crafts, Life Tips and Tricks Recipes And More

Beauty, hair · May 27, 2020

Easy DIY Hair Wraps

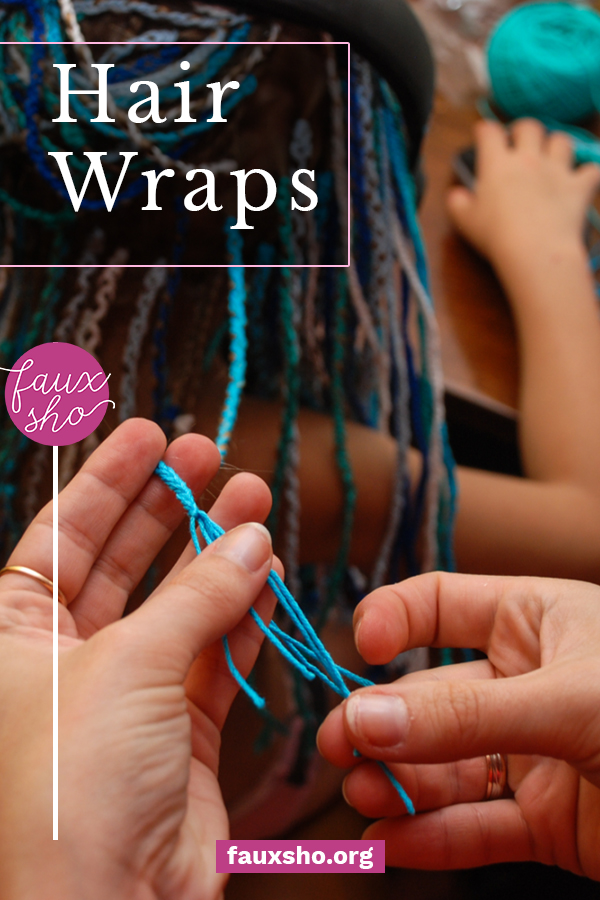
Remember hair wraps? I don’t mean using a scarf to craft an updo. I mean boho-summer-chic hair wraps from those summer vacations you went on as a teenager. The ones where you wrap thread around a lock of hair in varying patterns and colors to create a look that’s unique to you. It’s time for them to make a comeback! I’ve gathered some information for how to DIY a hair wrap to make your inner hippie happy.

Contents
1 Easy DIY Hair Wraps
2 DIY Hair Wrap Materials
3 DIY Hair Wrap Tutorial
3.1 Step 1
3.2 Step 2

Easy DIY Hair Wraps

Get your summer off to a festive start by adding in some DIY hair wraps to your hair. Follow this easy tutorial to make your summer dreams come true! #FauxShoBlog #EasyDIYHairWrap #HairWrapTutorial #EmbroideryThreadHairWrap

DIY Hair Wrap Materials

Remember hair wraps? I don't mean using a scarf to craft an updo. I mean boho-summer-chic hair wraps from those summer vacations you went on as a teenager. The ones where you wrap thread around a lock of hair in varying patterns and colors to create a look that's unique to you. It's time for them to make a comeback!

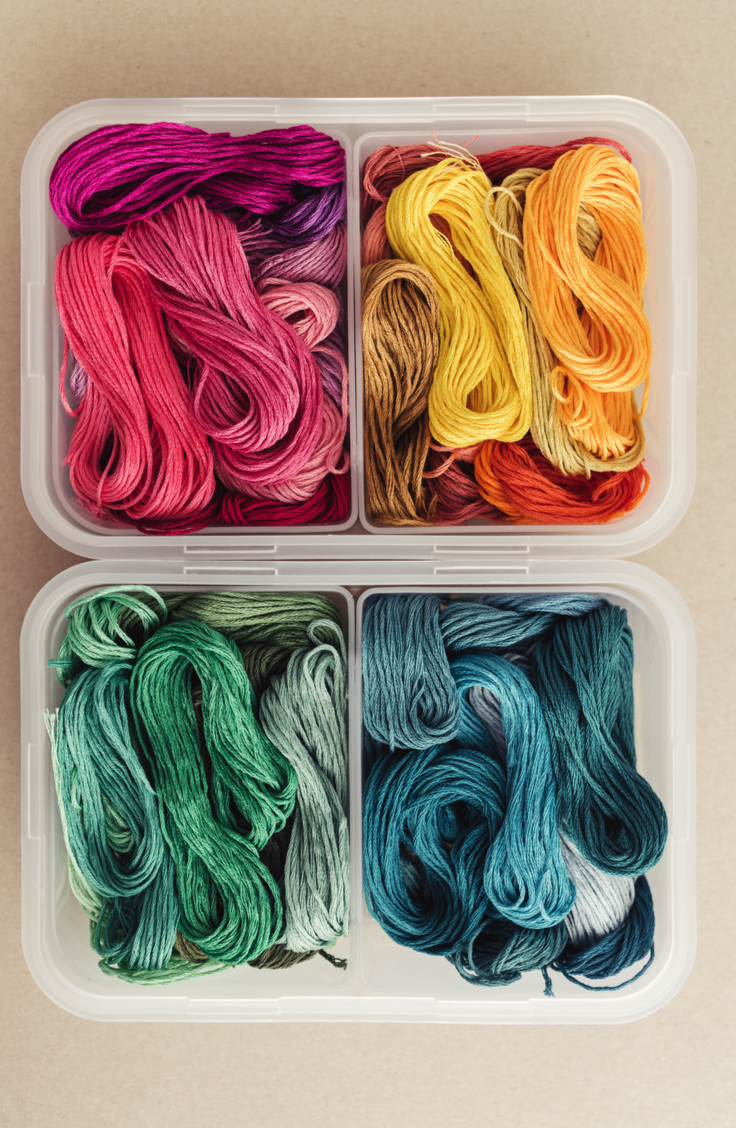
First, you’ve got to have the right materials. For a good hair wrap, here’s what you need:

  • Embroidery Floss: Ombre, patterned, whatever floats your boat!
  • Scissors
  • Charms (if desired) for added texture and decoration
  • Hair extension: If you’re not crazy about wrapping your hair, then try wrapping a removable extension instead!

DIY Hair Wrap Tutorial

Remember hair wraps? I don't mean using a scarf to craft an updo. I mean boho-summer-chic hair wraps from those summer vacations you went on as a teenager. The ones where you wrap thread around a lock of hair in varying patterns and colors to create a look that's unique to you. It's time for them to make a comeback! Check out this awesome hair wrap tutorial!

Step 1

Once you’ve got the materials, it’s time to get braiding! Start with sectioning out a small section of hair in the area you want your wrap to be. Then braid it tightly in a regular braid and secure with a clear elastic. Next, choose the embroidery floss colors. If you’re going for a boho look, then ombre has your back. Try adding in a feather or two to the end of your wrap for an extra bit of boho-chic.

Remember hair wraps? I don't mean using a scarf to craft an updo. I mean boho-summer-chic hair wraps from those summer vacations you went on as a teenager. The ones where you wrap thread around a lock of hair in varying patterns and colors to create a look that's unique to you. It's time for them to make a comeback! Take a look at this awesome hair wrap tutorial!

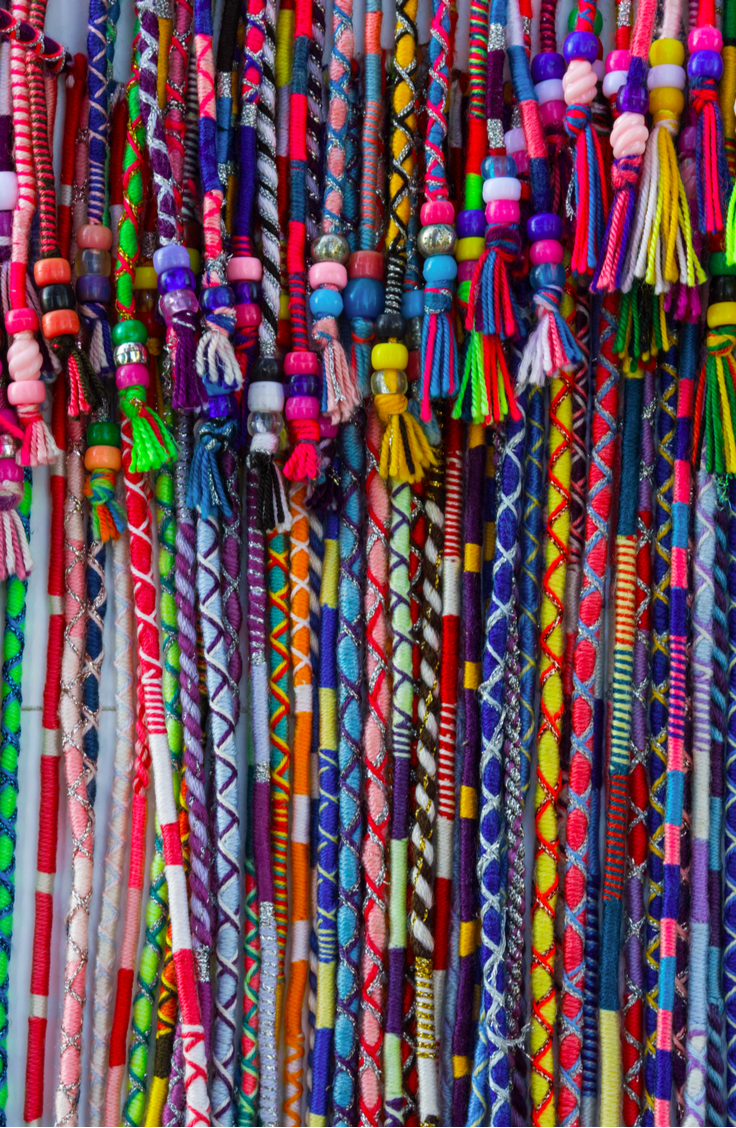
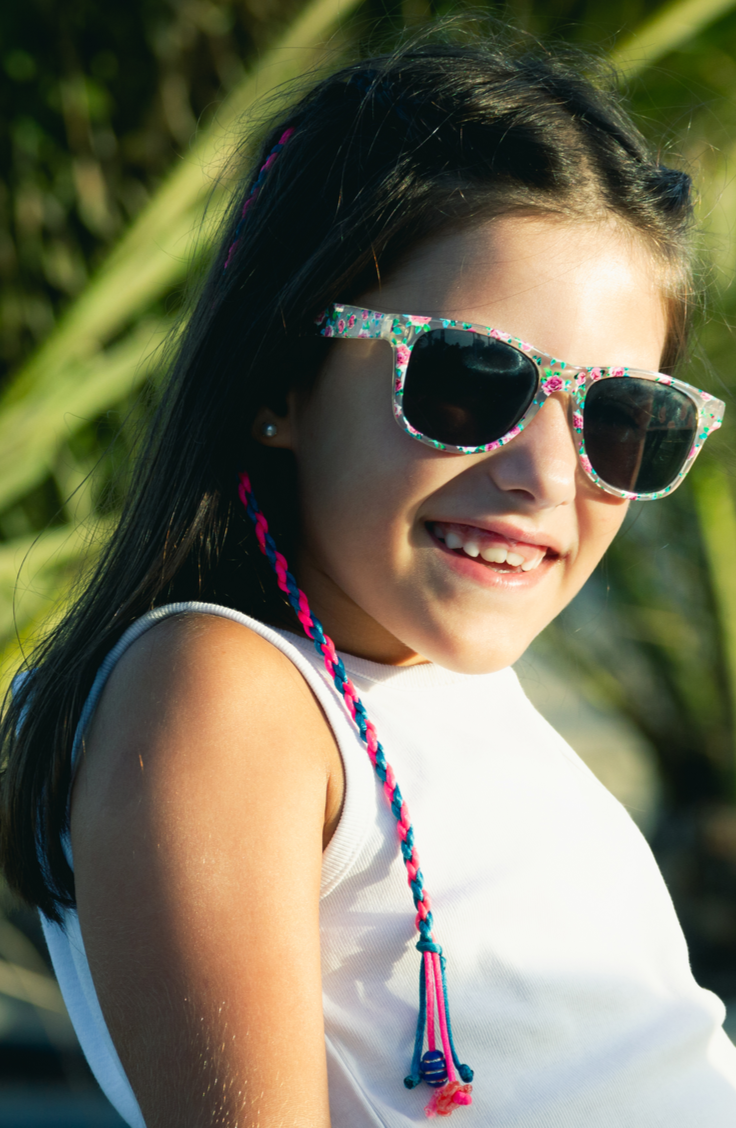
If you’re aiming for more of a summer/hippie look, then swing for vintage colors like olive and yellow or rainbow and don’t forget to add some charms while you’re wrapping! For a sweet summery look, adding pops of white and patterns while you’re wrapping.
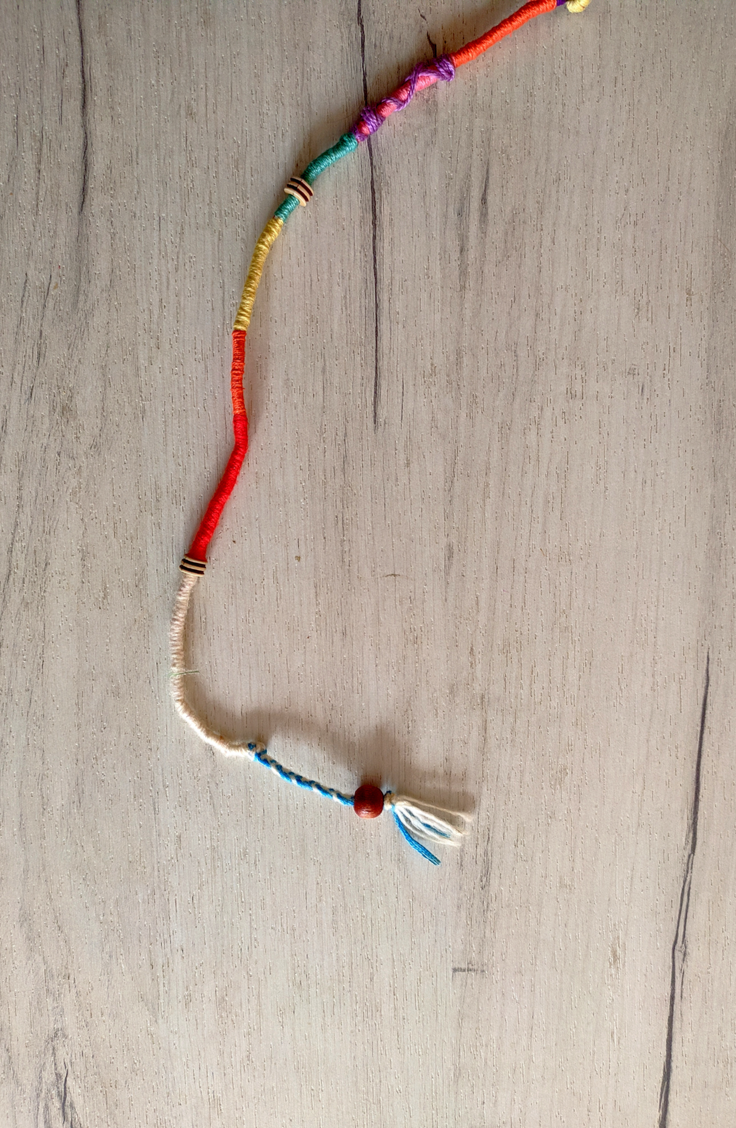
Step 2

Once you’ve chosen the colors, measure out the length of thread you need. You should estimate about 3 times the length of the braid so that you have enough thread for the entire wrap. When you have your thread ready, tie it in a knot at the top of the braid. You can either tie the knot in the middle of the thread or at the end. Keep in mind if you tie the knot in the middle, then you’ll end up with double the amount of thread to wrap, which might be a good idea if you have thick hair.

Remember hair wraps? I don't mean using a scarf to craft an updo. I mean boho-summer-chic hair wraps from those summer vacations you went on as a teenager. The ones where you wrap thread around a lock of hair in varying patterns and colors to create a look that's unique to you. It's time for them to make a comeback! You will love having one this summer!

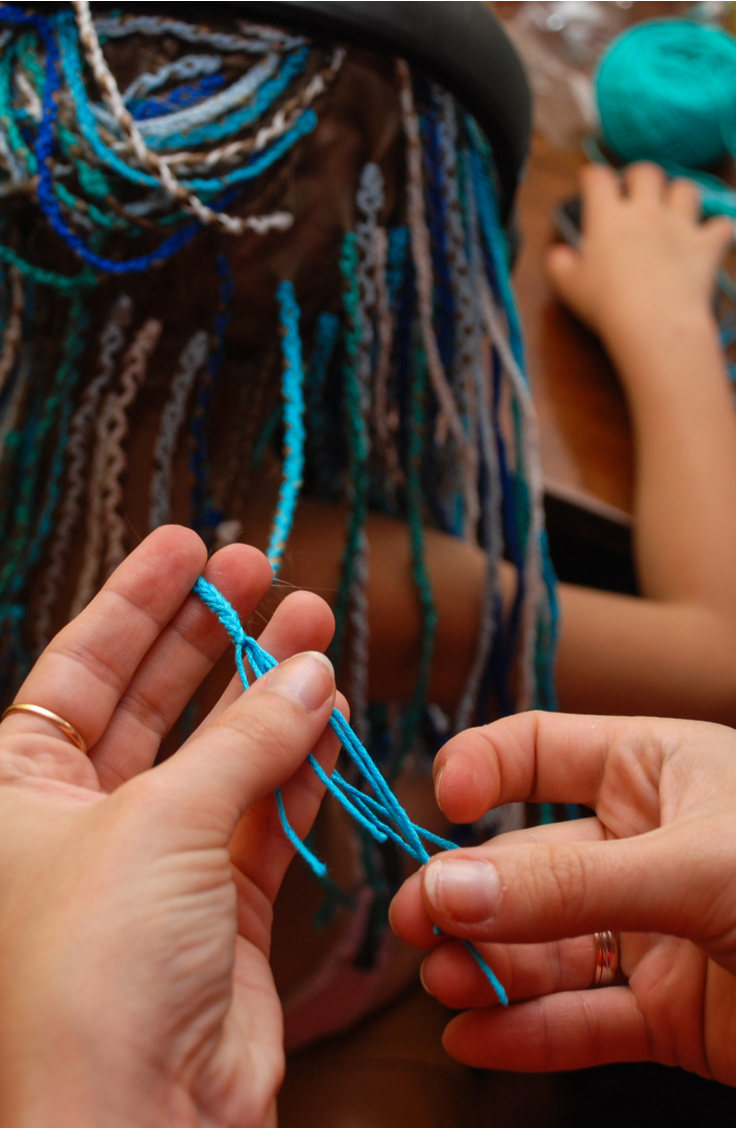
Next, pull the thread strand you want on the outside and start wrapping it around the braid and the other threads until you’re ready to switch colors. Work to keep the wrap tight and push up the braid if needed. If you want to add contrast wrap around the outside, then pull those colors out while you wrap the section, then criss-cross and bring together at the end. If you want a more in-depth tutorial, you can check out this photo walk through or watch this awesome DIY video. Have fun creating a unique and amazing hair wrap to kick off your summer!

Remember hair wraps? I don't mean using a scarf to craft an updo. I mean boho-summer-chic hair wraps from those summer vacations you went on as a teenager. The ones where you wrap thread around a lock of hair in varying patterns and colors to create a look that's unique to you. It's time for them to make a comeback! You will love all the compliments you get from them!

You might also enjoy

Nightly Beauty RitualsNever Fall Asleep Before Doing These 5 Nightly Beauty Routines
natural hair careRice Water for Hair Growth – Healthier, Smoother, Shinier Hair
Beauty MythsBeauty Myths You Can Stop Worrying About {Because They Aren’t True!}
« Best Bright Summer Acrylic Nails
5 Fun & Fabulous Dollar Tree Pool Noodle Backyard Games »

Leave a Reply Cancel reply

Your email address will not be published. Required fields are marked *

Search Faux Sho

The Latest Posts

  • Coffee Table Dimensions – How to Ensure the Best Coffee Table for Your Home
  • Bath Fitter Cost – What You Must Know About These Bathtubs
  • Uses for Coconut Oil – 15 Uses of Coconut Oil We Bet You Never Knew!
  • Homemade Hand Scrub – A Complete Guide on How to Make It
  • Rice Water for Hair Growth – Healthier, Smoother, Shinier Hair

Newsletter Sign Up

Design by SkyandStars.co

Copyright © 2025